
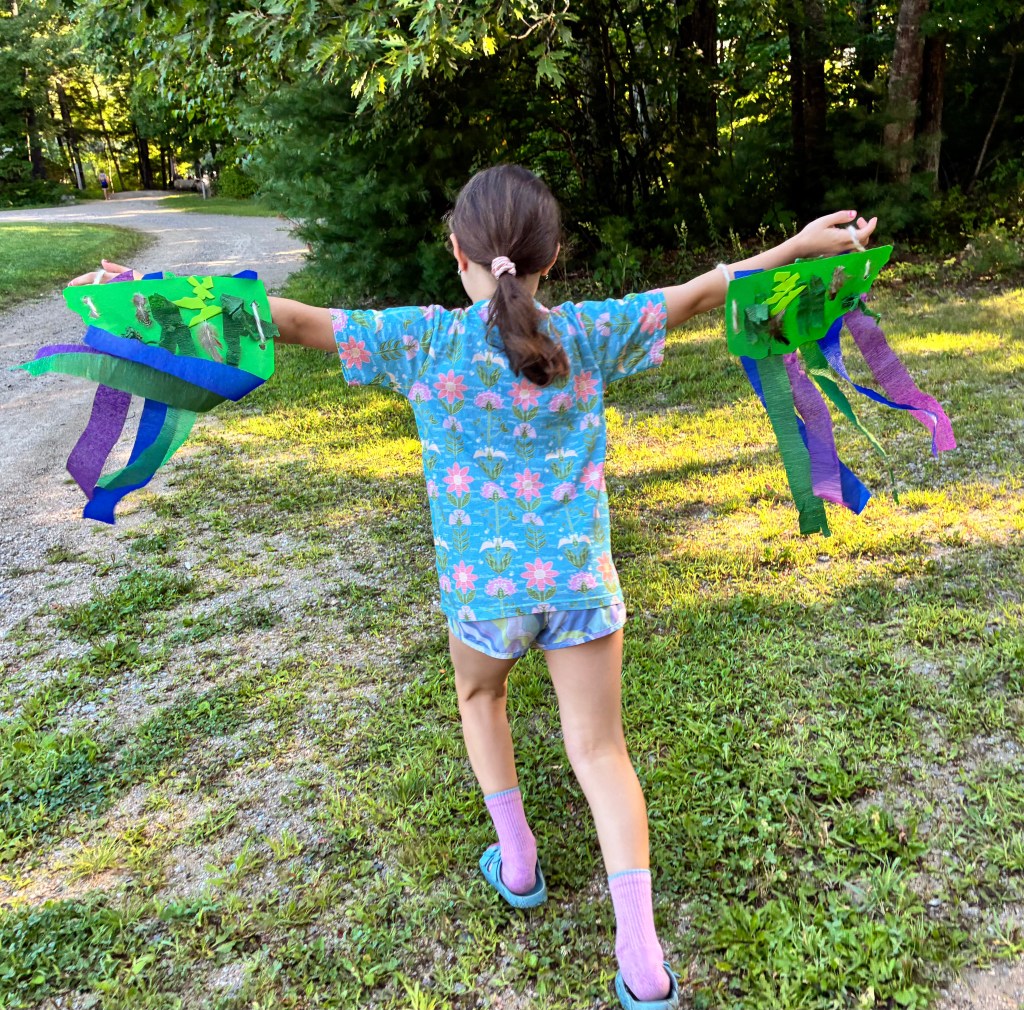
Kids (and adults!) can set their imagination soaring while they flutter, flap, and . . . fly with this easy craft designed by young creator Elise B.! What kind of bird will you be?!
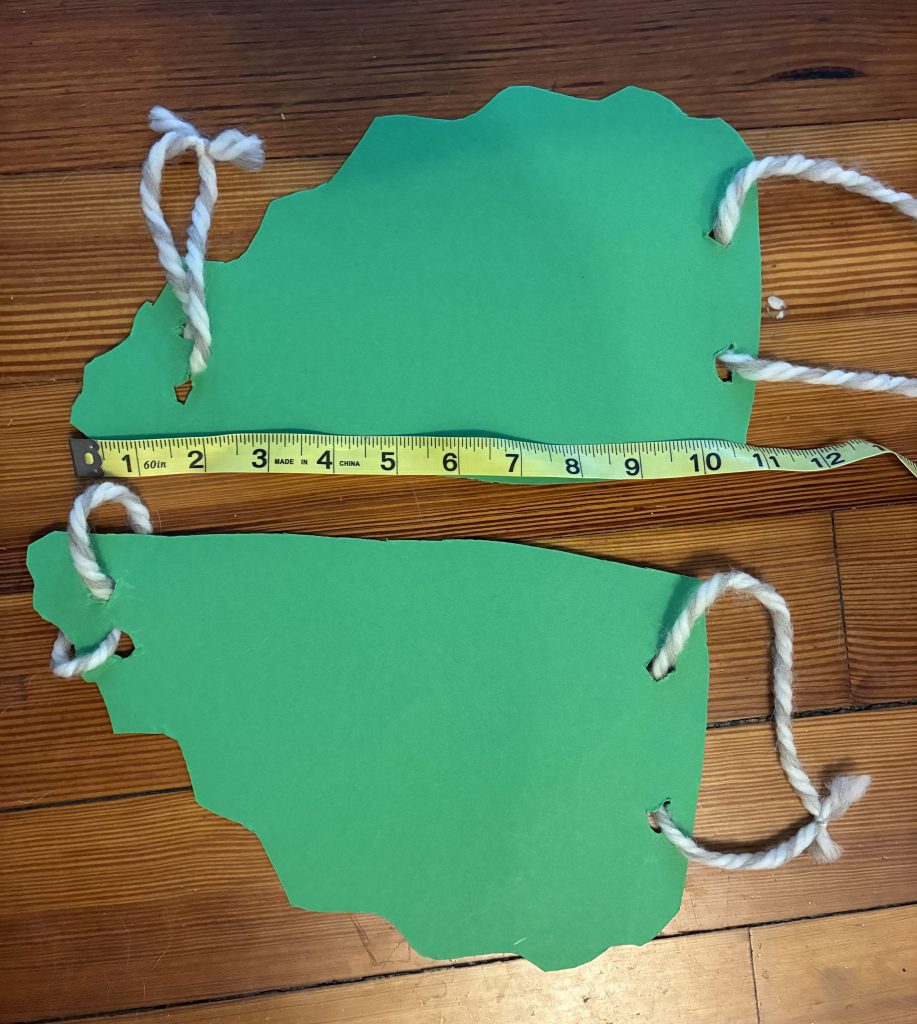
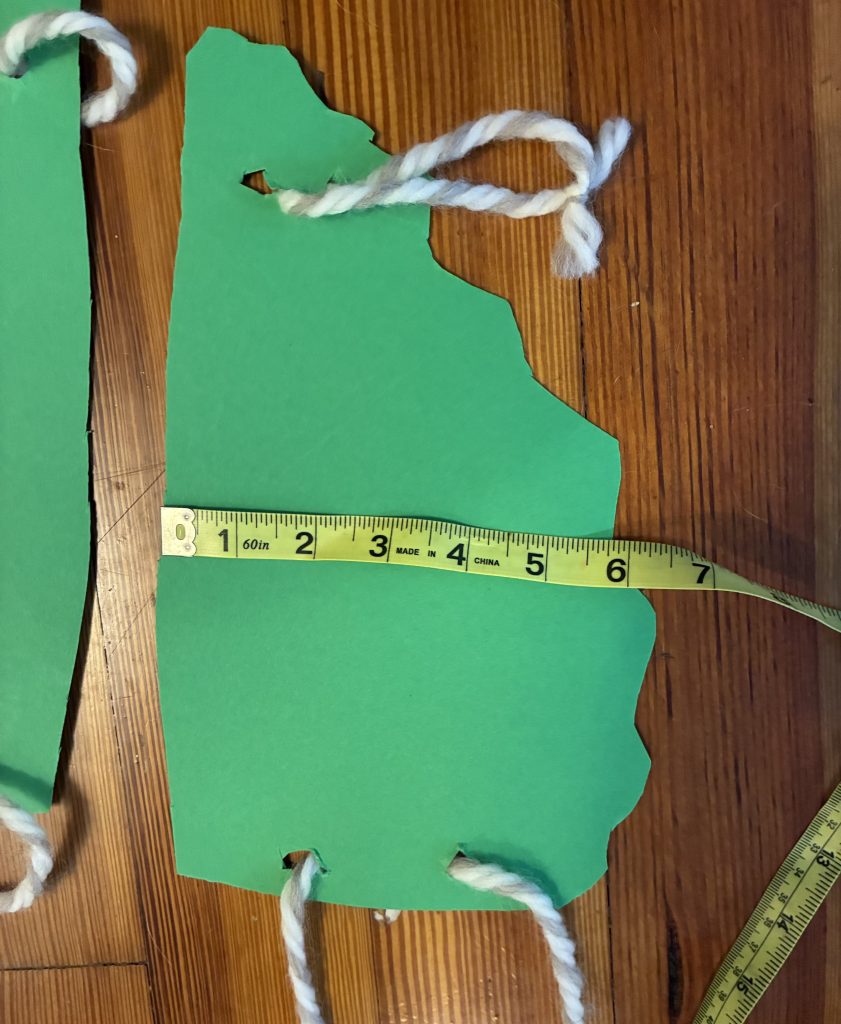
Supplies
- Poster Board in any color
- Twine, string, or ribbon
- Feathers, leaves, flower petals, paper, markers or crayons, glitter, or other items to decorate wings
- Streamers
- Measuring tape
- Pencil
- Scissors
- Hole Punch (optional)
- Glue and tape
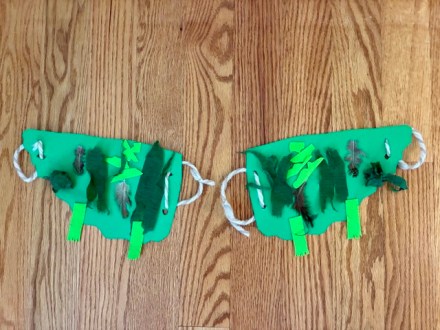
Directions
- Measure child’s arm from finger tips to elbow and use this measurement for the long, top side of the wing
- On the poster board, draw two wing shapes: use your child’s arm measurement for the long, top edge of the wing. From the right (or left) end of this line, draw a perpendicular line about 4 or 5 inches long. Then draw a curving, scalloped line from the bottom of the perpendicular line to the other end of the long, top edge of the wing.
- Cut out two wings
- Decorate the tops of the wings with markers or crayons or by gluing items to them
- Attach streamers to the scalloped edge with glue or tape
- With the hole punch or scissors, make two holes vertically along the short side, about 3 inches apart
- With the hole punch or scissor, make two holes vertically near the tip of the wing, about 1 inch apart
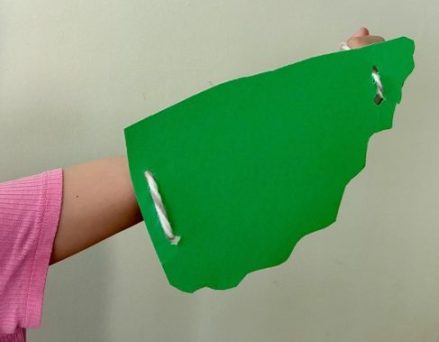
- Thread the twine, string, or ribbon through each sets of holes so that the two ends hang from the underside of the wing
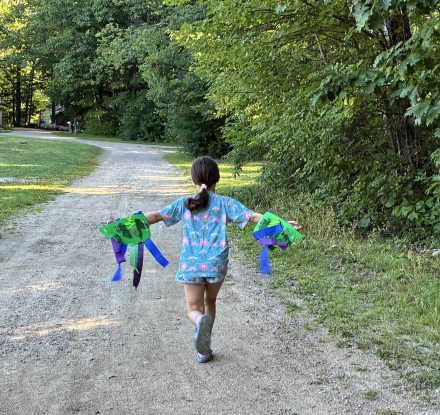
- To play, tie wings to arms and wrists with scalloped edge facing backwards
About Elise B.
Elise is 10 years old. She has two cats. When she’s not designing crafts for her grandmother’s books, she enjoys playing hockey, acting, and dancing. Her favorite birds are blue jays.


